
The prior article in this series touched on some of the different platforms and frameworks available to serve both developers and content managers. If you are at the decision point to use Next.js and do not need to review those options this is the best place to start.
Many of the concepts I used for this project are based on one of the many example projects provided by the Next.js team on GitHub. There is a specific blog-starter project that has many of the concepts I leveraged for this project.
The objective of this series is to provide a demonstration on the following:
- Creating a simple web site using Next.js with Typescript enabled.
- Using components for a consistent layout and design throughout the site.
- Adding basic CMS functionality using Markdown files to create/update content.
Prerequisites
This articles assumes you have set up all of the following tools/applications:
- VSCode: This is by far the best cross-platform IDE available for rapid development.
- NodeJS: Node is that JavaScript runtime used for development and testing of network (web) applications. It also includes NPM which is used extensively throughout these tutorials for package installation.
In all of these examples I am using a Windows-based environment, so specific syntax may be different for MacOS and Linux users.
Project Creation
The easiest way to create a new project using NEXT.js is to leverage Node/NPM to set up a default NEXT.js application. Open VSCode and select View > Terminal from the top menu. Navigate to the folder where you want your project to be created and then set up your project:
cd C:\\Projects
npx create-next-app mysite --typescript
If you do not have NPX installed on your system you can enable it by executing the following command:
npm install -g npx
The create-next-app command will create a new project under the mysite folder. Once the project has been created open the mysite folder in VSCode - you should see something that looks similar to the following in the Explorer view: 
Confirm your project is working with the out-of-box functionality by running it locally. Select View > Terminal from the VSCode window. At the command prompt enter the following to run the project:
npm run dev
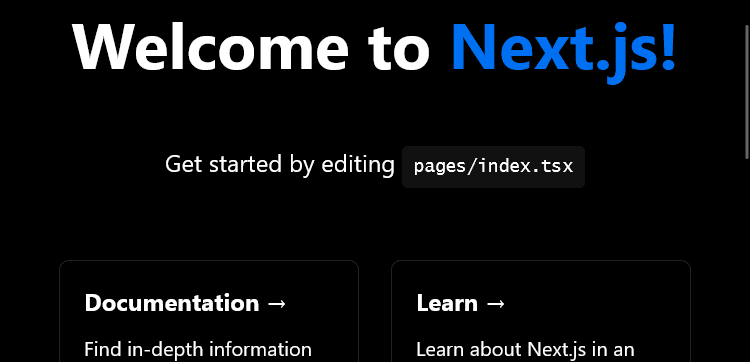
This will start up a development server on your local computer. Navigate to http://localhost:3000 to confirm the site is working, you should see a landing page similar to the following:
Removing Default Content
Now that you have set up and verified the default project is working you can remove content generated by the default application template. If your development server is still running, stop it by using the keyboard shortcut CTRL + c in the VSCode terminal window.
From the VSCode Explorer window, delete all of the following files:
- api/hello.ts
- public/vercel.svg
- styles/Home.module.css
Once these files are deleted you need to edit a few of the remaining files to remove unneeded content.
- Open
pages/index.tsxand remove all of the content, replacing it with the below (this is just a temporary placeholder while we start from scratch):
export default function Index() {
  return (
    <>
      <div>
        This is a very empty page.
      </div>
    </>
  );
};
- Open
styles/globals.cssand remove all content and save.
The next step is to add your site name as a variable in your project. You will create a class file containing the site name (and potentially other variables). Create a new folder under mysite called lib and create a new file called constants.ts.
Open the constants.ts file and add the following line and then save:
export const SITE_NAME = 'My Site';
Now, open the file pages/index.tsx and add the following to the file:
import { SITE_NAME } from \"../lib/constants\";
If you save the file and run the development server again your default page should now look like the following:
Any time you want to reference the name of your site you can now add it by adding the import line to the top of your component, and then just reference it inline to your component's return method as { SITE_NAME }. This concept can be expanded in multiple ways, but the key reason for this approach is that for any variable used across your project you now have the ability to control that variable from one location and all of your components, classes or other project items automatically inherit that change.
Member discussion: